1. Open the Firebase Console and create a new project with a new app.To do this, select a suitable name and click next. You will then be asked whether you would like to use Google Analytics in the project. Because many KPIs can already be found in our dashboard. With regard to data protection, we recommend not activating Google Analytics at this point. Click one step further and wait a moment until your project is finally created.
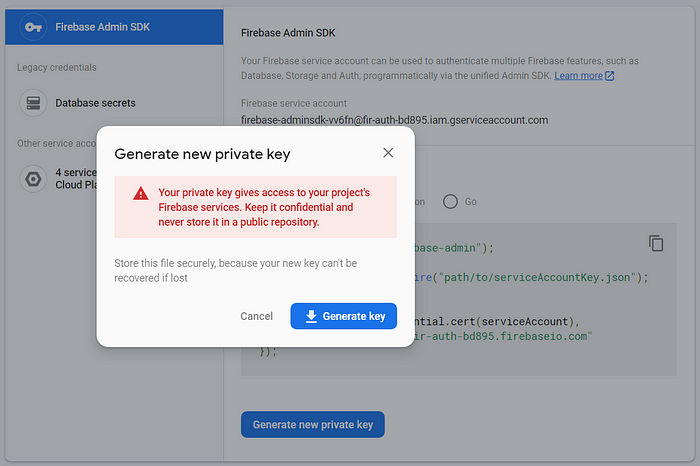
2. Click on Project settings (Gear on the top left) > Service accounts in the Firebase console and then click Generate new private key.
3. Enable “Firebase Cloud Messaging API” in the Google Cloud Console for the previously created Firebase project
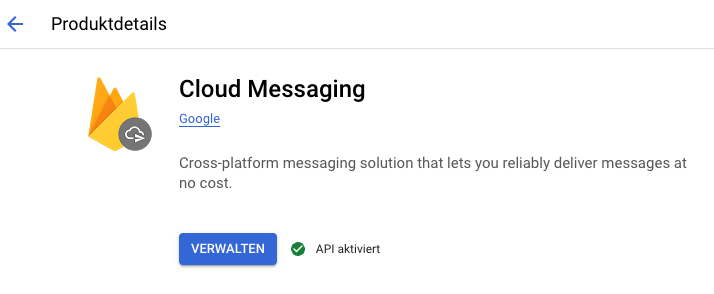
When you click on the link, make sure that the correct Google account is selected if you have more than one. You can change the account in the top right if necessary.
3.1. Please ensure that the service account has the following permissions:
- cloudmessaging.messages.create
- firebase.projects.get
These permissions should be enabled by default for new Firebase projects. If you’re using a custom service account with limited permissions, you can add these permissions by assigning the following roles:
- roles/firebasemessaging.admin (includes cloudmessaging.messages.create)
- roles/firebase.viewer (includes firebase.projects.get)
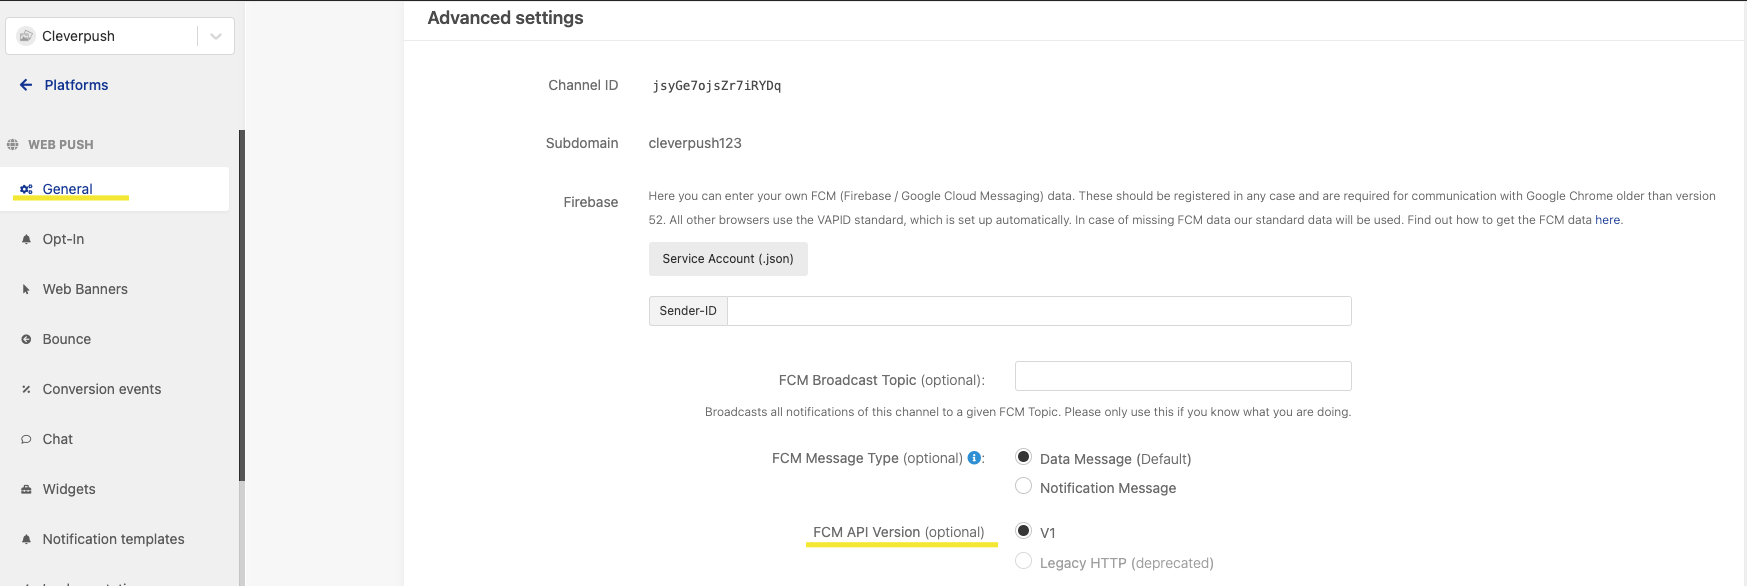
4. Upload the Service Account JSON file in the CleverPush Channel settings at General > Android. If you cannot find the corresponding button for uploading, please activate “V1” as in the image below.
After you have carried out the above steps, there is a link from FireBase to CleverPush. Now you can start building the app in our system and later upload it to the Google Play Store. Further support articles will follow in the future.
Did you know already? – If you wish, we will be happy to advise and support you with your app project. Simply contact our CleverPush support via support@cleverpush.com or your personal contact person with us.